TPC Meta
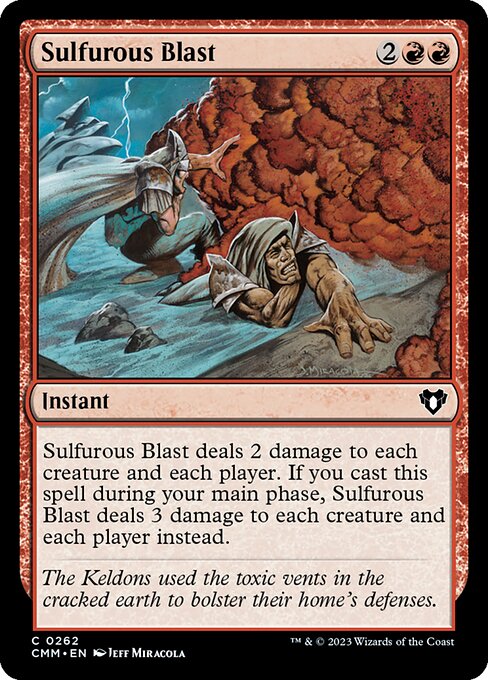


It may seem obvious to actually say it, but by restricting its options to only commons, the gameplay within The Pauper Cube is quite different than constructed, retail limited, or other cube environments. Certain key effects that are well known in Magic are either completely lacking in The Pauper Cube or are limited to a few key examples. There are no unconditional mass removal spells. Instead, we have Crypt Rats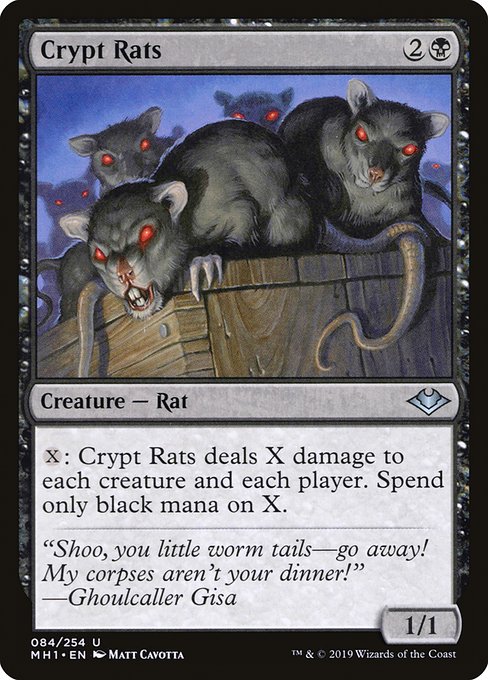 , Arms of Hadar
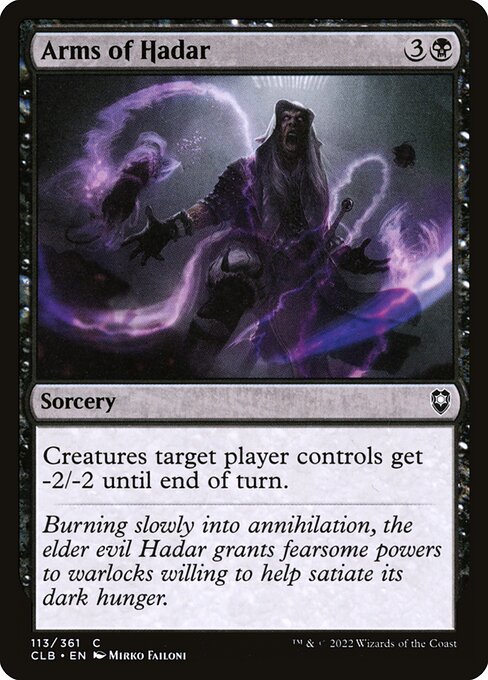 , and Sulfurous Blast. There are no game altering control finishers or stabilizers, no planeswalkers like Ugin, the Spirit Dragon
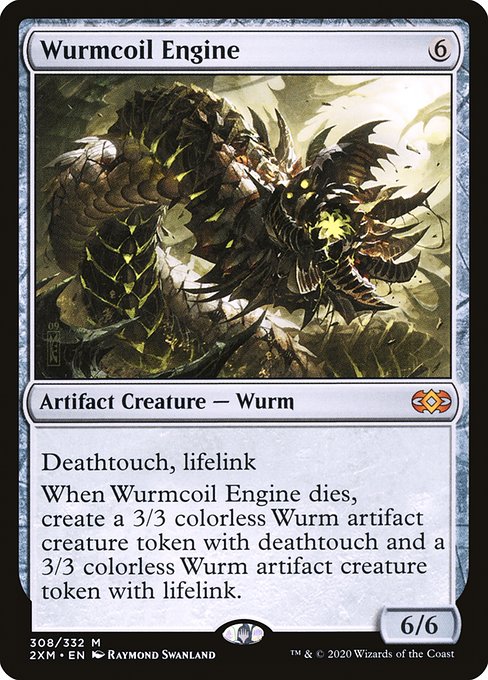
 , no massive catchup cards like Wurmcoil Engine. Instead, we have Mulldrifter and Guardian of the Guildpact
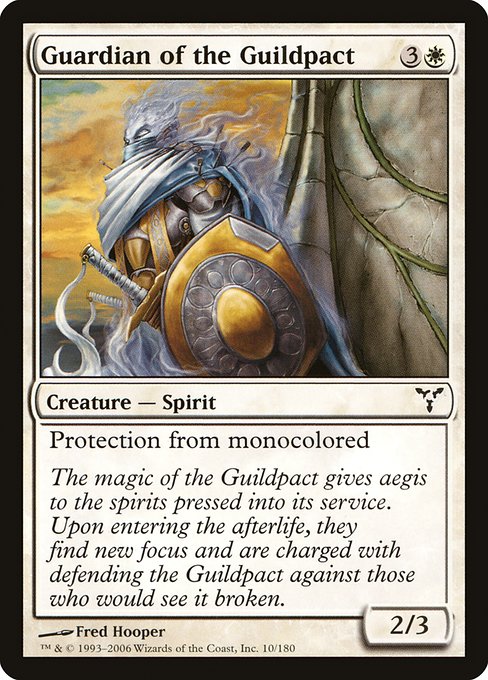 . We have a few aggressive creatures that have power greater than their casting cost. Savannah Lions
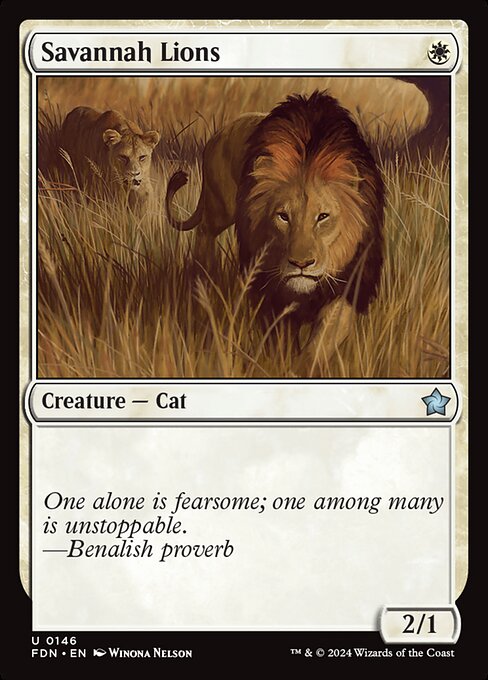 , Elite Vanguard
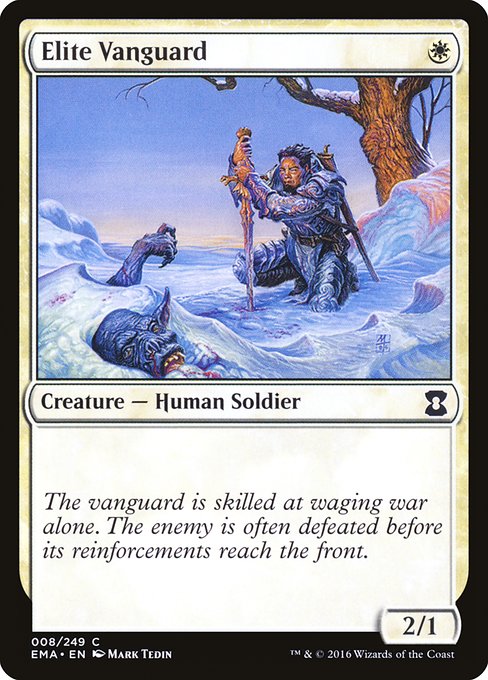 , and Jackal Pup
 were all commons at some point. Yet, The Pauper Cube doesn’t have the density and redundancy compared to cubes that can run ten or more variants on Savannah Lions which often include upsides. Don’t even think about getting untapped duals soon.
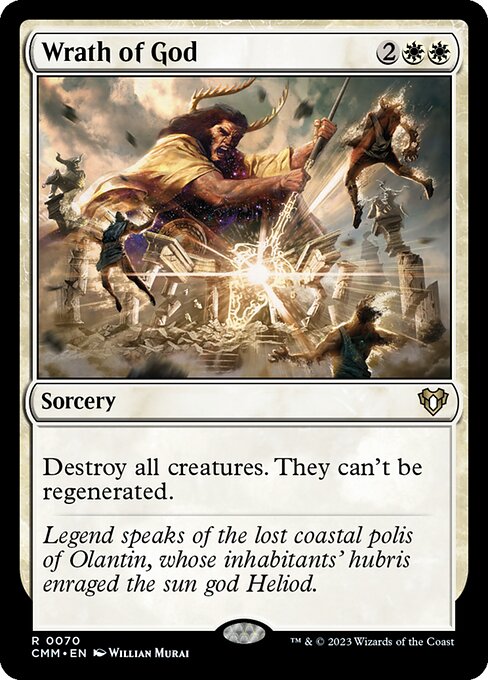
In a sense then, The Pauper Cube excludes the extremities of magic, and we are left with the middle. The most explosive starts and the most devastating finishers are nowhere to be found. Without untapped duals or enough 2/1s for one, aggressive decks are a step slower than their traditional versions. Often, they need a gimmick to make up for their slower starts. Control has to navigate without planeswalkers, Wrath of God style mass removal, or even big dumb catch-up creatures. It has nothing that impressive which can recapture the game state in its favor or that it can ramp into. In a very rough sense, almost everything you can draft is some type of two-color mid-range deck. At times, our decks can mimic elements of traditional aggro or control, but in the reality, the gap between these archetypes is smaller in our cube. In other formats, a game of Magic is often won by decisive spells on key turns. In The Pauper Cube, games are often won by the compounding nature of small strategic decisions over the course of a game. For many of us, this style of play is the best thing Magic has to offer. With that context in place, the next step to understanding The Pauper Cube is to look at our color identities, but you need to abandon WUBRG, and start instead with a spectrum of fast aggression to slower control to orient yourself.
were all commons at some point. Yet, The Pauper Cube doesn’t have the density and redundancy compared to cubes that can run ten or more variants on Savannah Lions which often include upsides. Don’t even think about getting untapped duals soon.
In a sense then, The Pauper Cube excludes the extremities of magic, and we are left with the middle. The most explosive starts and the most devastating finishers are nowhere to be found. Without untapped duals or enough 2/1s for one, aggressive decks are a step slower than their traditional versions. Often, they need a gimmick to make up for their slower starts. Control has to navigate without planeswalkers, Wrath of God style mass removal, or even big dumb catch-up creatures. It has nothing that impressive which can recapture the game state in its favor or that it can ramp into. In a very rough sense, almost everything you can draft is some type of two-color mid-range deck. At times, our decks can mimic elements of traditional aggro or control, but in the reality, the gap between these archetypes is smaller in our cube. In other formats, a game of Magic is often won by decisive spells on key turns. In The Pauper Cube, games are often won by the compounding nature of small strategic decisions over the course of a game. For many of us, this style of play is the best thing Magic has to offer. With that context in place, the next step to understanding The Pauper Cube is to look at our color identities, but you need to abandon WUBRG, and start instead with a spectrum of fast aggression to slower control to orient yourself.
White
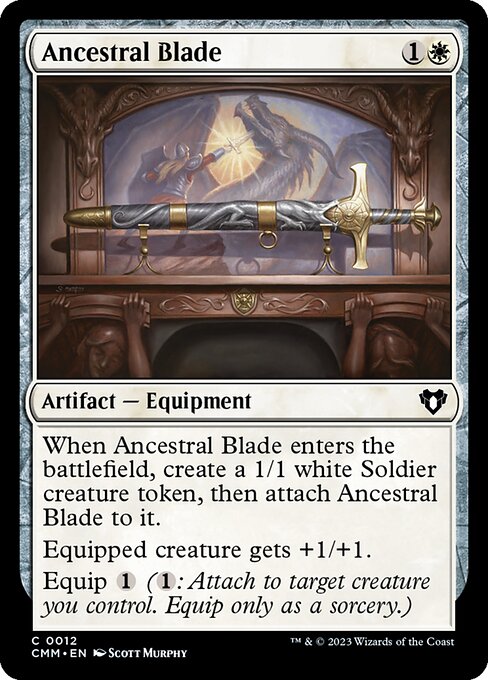
In The Pauper Cube, White is the most hard-hitting aggressive color. About a third of its creatures cost two or less, and the nearly all of them are designed to attack. Savannah Lions and Cathar Commando are good examples of the way that White can start off aggressive, but many of White’s early creatures are also designed to provide value even when they are outclassed later in combat. Thraben Inspector replaces itself with a clue, Doomed Traveler leaves behind another body, and Ancestral Blade starts life as Glory Seeker who sort of drops his Short Sword on death. This style of card, as well as many spells the produce two or more creatures from one card, allows the aggressive White player to continue to pressure the opponent’s life totals by attacking into bigger creatures without really going down strictly on card advantage. In addition to the straight aggression, White packs a number of evasive creatures often with its token makers such as Battle Screech and Triplicate Spirits to help finish off the opponent when the ground gets clogged.
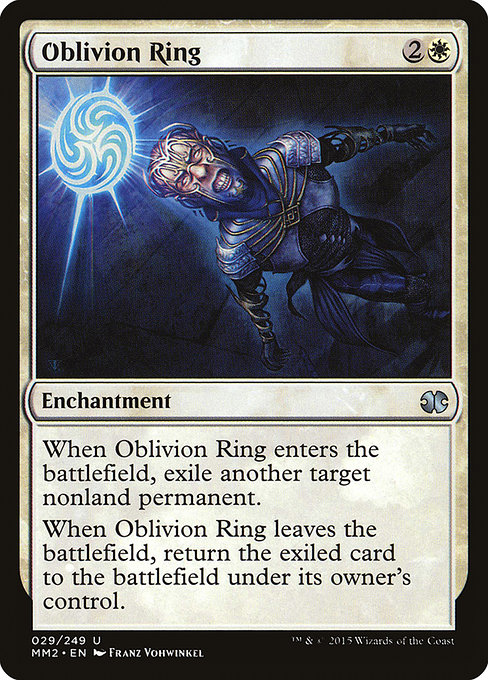
Although White is often aggressive as a main color, it can support more controlling builds quite well. Many of White’s two for one bodies and powerful enter the board effects (ETBs) can be put to work on the controlling side of the table to effectively trade down and gain card advantage, especially higher on the curve. More importantly though, White has some of the most versatile spot solutions in the form of its enchantment based removal. This removal will be targeting creatures the vast majority of the time, but it is nice that Oblivion Ring, Faiths Fetters, and trapped in the screen open up White as a catch-all control compliment. Lastly for White in control, nothing stabilizes like Guardian of the Guildpact.
Red
While White technically has stronger small creatures, Red is almost as aggressive in its early creatures but has the burn to back it up. Because of this, Red can be a safer bet to draft if you are looking for a simple low-to-the-ground aggressive strategy. Many of the one drops have some other functionality, from direct damage in Fanatical Firebrand, blocking disruption in Frenzied Goblin, or an aristocrat sacrifice finisher in Scorched Rusalka. It is true that Magic’s history is littered with common Red two drops that have three power, but there are only a few here. Instead, in The Pauper Cube, Red two drops specialize in making multiple bodies for one card. Because of this, Red can have an almost combo feel with cards such as Gnawing Crescendo, Raid Bombardment, and Witty Roastmaster. Without some trickery to make use of the multiple bodies, Red’s creatures are often outclassed by midgame. So, prioritize the few gimmicks you see that let you close out games over the plentiful enablers.
As Red goes up the curve, there is no real shift to controlling creatures like we saw in White. Hissing Iguanar, Tuskeri Firewalker, and Oliphaunt all encourage you to keep sending your team in to attack. Cards like Fireblast even boast cheaper alternative costs for the low-to-the-ground aggressive decks. Because of this, Red is very rarely the core part of a controlling deck, especially one based on its creature side. However, as a supporting color, Red is full of easy to splash and efficient removal. From the original Lightning Bolt to its modern impersonators like Skewer the Critics, Red has a lot of potent direct damage to offer. When a controlling deck like Blue-Black splashes for a third color, Red is often the choice for this reason. Fireball alone is a reason to splash red in control. The only downside is that because these cards are so efficient and splashable, both the control players and aggressive players will want to scoop them up quickly.
Black
Black is truly the dividing point color in this cube. When paired with one of the other aggressive colors, it can often be a strong ally towards an aggressive cause. Carrion Feeder and Carnophage are strong one drops, and Black fits right in with Red and White in having 2 drops that leave something behind or make another body when they ETB. Any combination of these three colors can be a great swarming option. Between team pump and sacrifice value, the Mardu wedge is great at applying early pressure. However, when Black is the more dominant color, it tends to utilize the value and removal options of its second color to become a true mid-range pile. This board control Black is often happy to spend a lot of the early game trading creatures before getting them back with cards like Gravedigger and Death Denied. It is worth noting that Black’s midrange options include many color intensive choices like Ashes to Ashes, Faceless Butcher, Gray Merchant of Asphodel, and of course the old school pauper wrath-Crypt Rats. Even something like Pestilence, that is strong in an even split deck, pushes you into a heavier Swamp build to make it great. When paired with Green or Blue, it may be a challenge for Black to provide enough aggressive options even as the main color. So the main plan in those pairs is control. Paired with Blue, Black doubles up on the ETB value generating creatures and pure card draw like Night’s Whisper to be the peak control deck. With Green, Black doubles up on the graveyard recursion and midrange ground control to play a rock-style tap-out control. In any build, the pull into Black is going to be towards its removal suite because its cards like Cast Down tend to be more efficient than White’s sorcery speed enchantments and more universal than Red’s burn that can struggle with bigger bodies.
Green
Stompy is not really supported in this cube, so it will be a challenge to draft it. Green has a few one drops, but really only one that is meant to go into combat, Experiment One. The other little green options instead bring this color’s specialty to the table, ramp and fixing. Because of this, Big Green is a reliable style for any deck packing a lot of Forests. Arbor Elf and the original Llanowar Elves get things started, but all the way up the curve, Green is helping with mana. Sakura-Tribe Elder, Farseek, Llanowar Visionary, and even the big pig Krosan Tusker are setting up your mana for bigger and better plays.
Green then is at its best using these ramp spells to be a single step ahead of the other player and keeping the pressure on. As the Green player, it’s important to ask yourself often and early “who is the beatdown?” The pacing of Green’s curve in this cube often requires using creatures to clog the ground to play control against aggressive opponents. However, against true control, Green should be slamming big body after big body that are difficult to remove either because of hexproof like Jade Guardian or value granting like Silverback Shaman and Owlbear. Even the more vanilla Green monsters can give control fits with a few attacks when they are backed up with protection granting effects like Tamiyos Safekeeping, Snakeskin Veil, and Vines of Vastwood. Once Green starts hitting back with its own bigger and better creatures, the ground is often quite clogged and messy. Because Green has instant speed pump like Giant Growth and fight/bite spells like Ram Through, green should be winning any double blocks. Just be careful that you have enough creatures to use those fight/bites and that you don’t get blown out by bounce or spot removal from other colors.
Blue
Finally we have blue, which sits on the far end of the speed and control spectrum in The Pauper Cube. In most formats, Blue is the control player’s color of choice, and those historic expectations hold up here as well. If you added together all of Blues one and two drop creatures, you would still have the same or fewer than the one drops of White, Red, or even Black. Instead of developing the board on early turns, Blue spends them developing its draws with cantrips like Consider and Ponder or playing the waiting game by using classically powerful permission such as Counterspell, Mana Leak, and Lose Focus. Whatever Blue is unable to counter, it can easily bounce instead. Blue has a number of spells, such as Repeal, that can do the trick at instant speed and creatures like Winter Eladrin and Mist Raven to accomplish it main phase while still developing the board. With so many strong ETB options in the cube, you may find Blue just as often bounces its own best value creatures once it has gained control.
While counters and bounce are classic control mechanics, the true reason to be a late game control deck is the card advantage. This is where Blue is still king. Over a third of Blue’s cards contain some variation on the text “draw a card” and the real heavy hitters like Mulldrifter, Treasure Cruise, and Deep Analysis put you way ahead. Any other color you pair with Blue, exists to keep you alive into the late game where you can start using the endless two-for-one options to win in an avalanche of card advantage. So be sure to use that other color to get some stabilizing two drops and true removal. Once you are finally done toying with your opponent, Blue’s air force will be able to fly above whatever they have left on the ground. Warden of Evos Isle makes them cheaper, Pestermite and Peregrine Drake let you keep up counter mana, and Preening Champion gives you ground control while attacking the air. It is worth noting that with Peregrine Drake, Archaeomancer, and Ghostly Flicker, monoblue can commit to a combo style deck.
Colorless
There are no true colorless archetypes, themes, or decks to be played. Instead, the options are versatile support cards for the established decks in the other guilds. The colorless section here is pretty small and evenly divided to support aggressive or controlling strategies. Bonesplitter is as good as it always is, and it looks great on the colorless aggressive options like Gingerbrute, Vault Skirge, or Porcelain Legionnaire. For the control players, we have early value stabilizers like Filigree Familiar, ramp like Mind Stone, some removal in Serrated Arrows, and even eldritch endgame finishers like Ulamog’s Crusher.
Guilds
White-Blue Azorius- Blink
White-Blue tends to be a more tempo-oriented deck that has the ability retrigger many of the strong ETB effects in these colors. Momentary Blink is the prime example of this, but even Silver Drake plays into this package as well. Many of the White ETBs impact the board like Aerie Auxiliary, while many of the best Blue options draw cards. Pay special attention to Mnemonic Wall, Displace, Capsize, and Settle Beyond Reality as these cards can set up strong ETB engines for you while still being good before then. If you pick up a Peregrine Drake, there are numerous combo finishes contained in this guild as well. As both colors have plenty of good ETB midrange value creatures that are easy to pick up, prioritize the flicker and bounce effects like Ephemerateplus strong early options like Thraben Inspector. In the more controlling builds, you may end up splashing some ETB creatures from other colors like Black’s Gravedigger. As both White and Blue have strong flyers as well, you can occasionally just end up with a flyers tempo deck that can outrace the opponent in the air while bouncing, tapping, or removing what they try to setup below.
Blue-Black Dimir- Traditional Control
Black provides the removal and early value ground bodies. Blue provides the counters, bounce, and air finishers. It’s a tale as old as time, and creates one of the strongest decks in the Pauper Cube. They both bring lots of draw and card advantage with creatures. As this guild sports Cavern Harpy and Dinrova Horror, don’t miss out on Blue’s bounce and flicker packages to really lock an opponent out late game. Like many bigger blue decks, you generally don’t need to worry too much about what you will eventually win with, because some leftover ETB creature will still be around after you have countered, killed, or bounced their board. There are generally enough good mid and end game options, so be sure to pick up the early plays as a priority. You don’t want to be overrun by a swarm deck for being too greedy for big effects. Black mass removal likePestilence is the highest priority as it will let you overcommit your draft to the late game while your opponent overcommits their small creatures to the board. Lastly, if any guild wants to pick up the artifact ramp we offer such as Pristine Talisman, it is Dimir.
Red-Black Rakdos- Sacrifice for value. AKA Aristocrats
When Black and Red pair in this cube, its most often around their sacrifice shenanigans. Scorched Rusalka and Plagued Rusalka are great options that let you dictate combat math. Carrion Feeder, Body Dropper, Voracious Vermin, and Bogardan Dragonheart are all excellent aggressive options to make life totals vanish. The best Rakdos Aristocrats decks tend to have some combo finisher like Hissing Iguanar, Falkenrath Noble, or even Raid Bombardment so that when all those 1/1 tokens start attacking into unprofitable bocks, you can still profit. Look for these synergies over the individual power of your cards. There are going to be a lot of options to make multiple bodies like Hordeling Outburst and Aether Poisoner, so if you are going for the sacrifice deck, prioritize those least. The Red team pump spells like Gnawing Crescendo work decently well in this archetype when don’t draw the sacrifice, so you can pick those up to have go-wide as a secondary plan. It is rare but possible for Rakdos to go control. This is usually with Black being heavier and Red supporting. This is a “draft all the removal” strategy. It can work quite well against many of the midrange decks, but it can really struggle against a deck filled with strong ETB options where they can out attrition you by getting their positive effect even if you Doom Blade the creature itself. If you are looking for the controlling Rakdos deck, be sure to have some strong late game value to recoup all the one for one trades.
Green-Red Gruul – Midrange monsters
The most aggressive creatures in the cube between the 3-5 casting cost range are in these colors. The goal is usually to try to get some ramp on turn 1 or turn 2 like Goblin Anarchomancer and start dropping midrange creatures with strong stats for the rest of the game like Oliphaunt or Generous Ent. Against smaller ground games, you might need to start by playing the control role often leaving things back to block. Yet, sometimes with well-timed ramp, you will be attacking right away and keeping them on their back foot. Against the more traditional control, you are the beat down utilizing good haste and trample options. This is by far the best guild to use Green’s bite/fight spells, but Red’s burn is still more important for when you are against control and need a way to finish off the game. Generally, controlling the ground against an aggressive deck is going to be an easy task for you, so try to pick some creatures with reach like Treetop Snarespinner so they can’t fly away with a win. Your hardest matchup is usually the over the top control deck with an ever better endgame plan, so any creatures you have that resist spot removal such Mother Bear or Underworld Rage-Hound with recursion are key in that matchup.
Green-White Selesnya – Midrange +1+1 counters
In many ways, Green-White plays similar to Gruul monsters. It starts a bit sooner with White and leans more on Green for the late game potential, but Selesnya has some of the best stats for cost running completely up the curve. Sometimes, the deck just plays out as a simple beat down deck running a strong creature at each casting cost. Something like Faithful Watchdog is going to shine here. But hidden within the mundane set of impressive creatures is nuance with +1+1 counters. Cards like Topan Freeblade, Nyxborn Hydra, Experiment One, Gnarlid Colony, Phantom Nomad, and Phantom Tiger seem at first like good aggressive creatures that just happen to use +1+1 counters. However, once you pick up some of the cards that care about counters like Inspiring Paladin, Ainok Bond-Kin, and CTuskguard Captain, all of these cards will start to pull more and more weight. The real strength though lies in the proliferate cards such as Unbounded Potential and Urban Daggertooth. These can grow your +1+1 army out of reach. Even if some of the powerful creatures don’t come with counters, Green-White has many ways to add them like Aerie Auxiliary and Captured by Lagacs. Keep an eye out while drafting Selesnya for cards that do well when they get +1+1 counters even if they don’t explicitly mention counter synergy. First strikers like Porcelain Legionnaire, Lifelinkers like Vault Skirge, and hexproof options in Green all wear counters and positive enchantments especially well. Beware of putting all your eggs in one basket though because a key bounce or edict effect might ruin your fun.
One key interaction that is a bit unintuitive to keep in mind is that the two phantom creatures will still prevent damage even after all their counters are remove if they somehow have gained a permanent toughness buff in another way. Once these two are in your pool, look for some interesting equipment and buffs like Vulshok Morningstar which increase toughness to make them invulnerable to damage. These buffs will work equally well on those lifelinkers and firststrikers so even if you don’t go for the combo, they should still work well.
Black-White Orzhov Life Bleeding
While the other guilds have a few “build-around” cards and themes, this is not really the case with Orzhov. The closest we have to that is the small life gain and life loss effects on cards like Kingpins Pet, Tithe Drinker, Pillory of the Sleepless, Syndic of Tithes and Falkenrath Noble. But there is no separate payoff for these small bleeding effects besides the pings themselves. Both colors are deep in spot removal and ETB effects that are great at control. So often, this deck is going to play the defensive game and use these life drains to win the damage race outside of the combat phase. Look for evasive creatures like Stormfront Pegasus and Bone Picker to help Orzhov close the game. With our inclusion of aggresive black options, Black-White can be an aggro deck that uses these small pings as reach to finish the game. Because of all the cards in this pairing that make multiple bodies, Orzhov can also imitate Red-White’s go-wide plan if it picks up the anthems in white or Black-Reds arisocrats plan if it gets enough sacrifice support in just Black.
While it’s not quite a theme, there is a small synergy in how Black a strong color to pair with White’s aura tutor Heliods Pilgrim. It brings options like Gift of Fangs to White’s enchantment removal suite already and of course Pillory of the Sleepless is brutal. Custodi Squire can then get them back or even a Pestilence or Tortured Existence that was sent to the yard with self mill. Speaking of Pestilence, Guardian of the Guildpact is best in this pair as well since it allows you freely clear out creatures with your black mass removal, while keeping around a creature.
Red-Blue Izzet- Spells Matter
Under the surface, Izzet has the old infrastructure of a counter-burn style control deck if you are like that style. Fortunately for drafters and this guild, modern design has given a number of relevant mechanics that fits perfectly on top of counter-burn to form an archetype. Welcome to the spells-matter archetype, also called spellslingers. Support cards like Goblin Elctromancer and Bloodwater Entity ensure that the non-creature spells come earlier and come often. There are a few obvious payoff cards like Jhessian Thief, Guttersnipe, and Murmuring Mystic. Cards like Monastery Swiftspear and Wildfire Elemental are less obvious but become quite strong when supported by cheap Red burn spells and the Blue cantrips to dig for them. Generally, the most focused Izzzet decks lean heavier into a single color unsurprisingly with Red Izzet being more aggressive and Blue Izzet being more control. An even split tries to be “control aggro” rarely works. Unlike some of the other guilds though, this archetype is less dependent on specific build-around cards and holds together more on the individual strength of the older and powerful spells from Magic’s past. It is important to note that many cards will count as both spells and creatures, like Barbed Batterfist and Young Blue Dragon. The result is that a careful Izzet deck can have a greater density for non-creature spells than it would seem at first.
Green-Black Golgari – Grave Recursion
While there are a few graveyard synergies spread across the cube, the vast majority of them appear in Green-Black Golgari. There are a number of early enablers that help fill the graveyard such as Winding Way, Grapple with the Past, Ransack the Lab, and Mire Triton. Many of these cards are great on turn 2 to fix your land drops or late game to get you an above average creature. But why is filling a graveyard even a good thing for Golgari? It gives you plenty of options for recursion like Desecrator Hag, Pulse of Murasa, and Black’s many “return” cards like Dread Return and Unearth. It gives you pure card advantage and options for cards that can be used from the graveyard like Retrofitted Transmogrant, First-Sphere Gargantua, Wither and Bloom,Dreg ManglerMother Bear and Bannerhide Krushok that are almost like spells. Your graveyard will even accelerate you if you pick up delve cards like Gurmag Angler or Hooting Mandrills. With all this value, you should be able to out-attrition most other decks that are looking to trade. In addition to Green’s natural fixing, many of the graveyard setup cards that help find lands can let you splash a few off color cards that care about graveyards like Treasure Cruise, Custodi Squire, or even a Mnemonic Wall to pair with your Death Denied. Note that if you pick up all the self-mill, you may end up running a list a bit bigger than 40 to keep from losing in a grindy control mirror.
Red-White Boros- Go wide Aggro
If White and Red are independently the most aggressive colors, then it should be no surprise that the Boros Guild the most aggressive paring. Many aggressive one drops are in these colors that help start the pressure right away. However, with no untapped duals and only a handful of very aggressive one drops, it is unusual that Boros will win just by playing singular small creatures with good stats before the opponent can stabilize. Instead, Boros will most often be a “strength in numbers” build and will finish the opposing side with a temporary anthem affect like Rally the Peasants, Borrowed Grace, and Gnawing Crescendo. Even if the opponent sees this coming, your multitude of tokens will easily trade up and you will still usually be in striking range to finish the game. The middle of the curve for this guild is filled with cards that produce two bodies for one card. White getting Raise the Alarm, Sandsteppe Outcast, and Battle Screech as examples. Red getting Aether Chaser, Hordeling Outburst, and Beetleback Chief to keep pace. Rhox Veteran might look slower but is an all-star here improving the entire team. Raid Bombardment is sometimes even better than a Glorious Anthem for Boros. Both the team pump spells and token makers are pretty abundant, but getting a few pump spells is more crucial to the archetype, so be sure give those a bit of a priority. One easy mistake to make drafting Boros is to pick up lots of slower removal in Red and White and to try to pair it with aggressive creatures. While these are normally good picks, your deck rarely wants to spend turn four casting Faith’s Fetters. You don’t want to end up as a control/removal deck running creatures like Rimrock Knight. Still, pick up cheap burn when possible because it not only clears away midrange blockers, but it can always be pointed at your opponent if you need one more untap phase after trying your anthem.
Blue-Green Simic- Tempo-Ramp
While Simic is a define defined guild, this does not come from true build-around cards or any nuanced built-in synergies. Instead, Simic is the closest The Pauper Cube has to its good stuff ramp pairing. Blue has some of the strongest top end spells, particularly its draw power, and Green has some of the strongest top end creatures. Because of this, Simic is king in a potential cold war of midrange decks wanting bigger and better effects to outdo their midrange opponent. Big creatures with alternate modes such as Mirrorshell Crab and Krosan Tusker play particularly well here alongside adventuring creatures like Sword Coast Serpent and Young Blue Dragon. Even when you are not ramping into massive game altering spells like in constructed, you will often be playing creatures from Green with strong stats and tempo oriented bounce in Blue for early board control.
In addition to ramp like Deranged Assistant, Green and Blue’s cantrips like Brainstorm, Abundant Harvest, and especially Coiling Oracle help you ensure you are hitting land drops all the way up your curve. They also help you filter away ramp or land late game once you have reached the top of the curve. With card selection abounding and Green’s mana fixing, most 4 and 5 color control decks start in Simic and branch off from there. Because of this, once you feel firmly in Simic, look more closely at the 5 color fixing cards like Prophetic Prism and any of the landscapes. While both colors provide top end power, Simic can struggle against an explosive White-Red Boros draw by being too slow and neglecting early defenders. They may even struggle against a slow bleeding Orzhov player if they are lacking true spot removal. Have a plan for those games. While there are really no game-breaking cards to ramp into like planeswalkers, this is the pairing that most easily can try to cast Bonders Ornament into a Snapping Voidcraw before hitting Ulamogs Crusher. That plan may not win the most often, but battle-cruiser magic can be a lot of fun when it comes together. Remember, even if you are not ramping into game changers, getting 4/4s out before the other side and drawing into more of them can often be enough to get the win.